We created a prototype of this twirly kite about 10 days ago, and were having so much fun with it... until my 4 year old twirled into the corner edge of a low bookshelf and gashed open his cheek just below his right eye (see above photo for reference). So, this tutorial comes with a warning: please have lots of fun twirling, but do not twirl into corner edges of bookshelves, or someone may end up spending an afternoon in the emergency room getting his cute little face sewn back together (not fun).
SUPPLIES NEEDED
Light weight card stock or watercolor paper (I used some paper we had painted with watercolor a few months ago)
Adhesive tape and/or glue
18 inches (47 cm) yarn or string
7-8 inch (18-20 cm) wide plate
Scissors, pencil & a ruler
STEP 1: Use a pencil to trace around your plate.
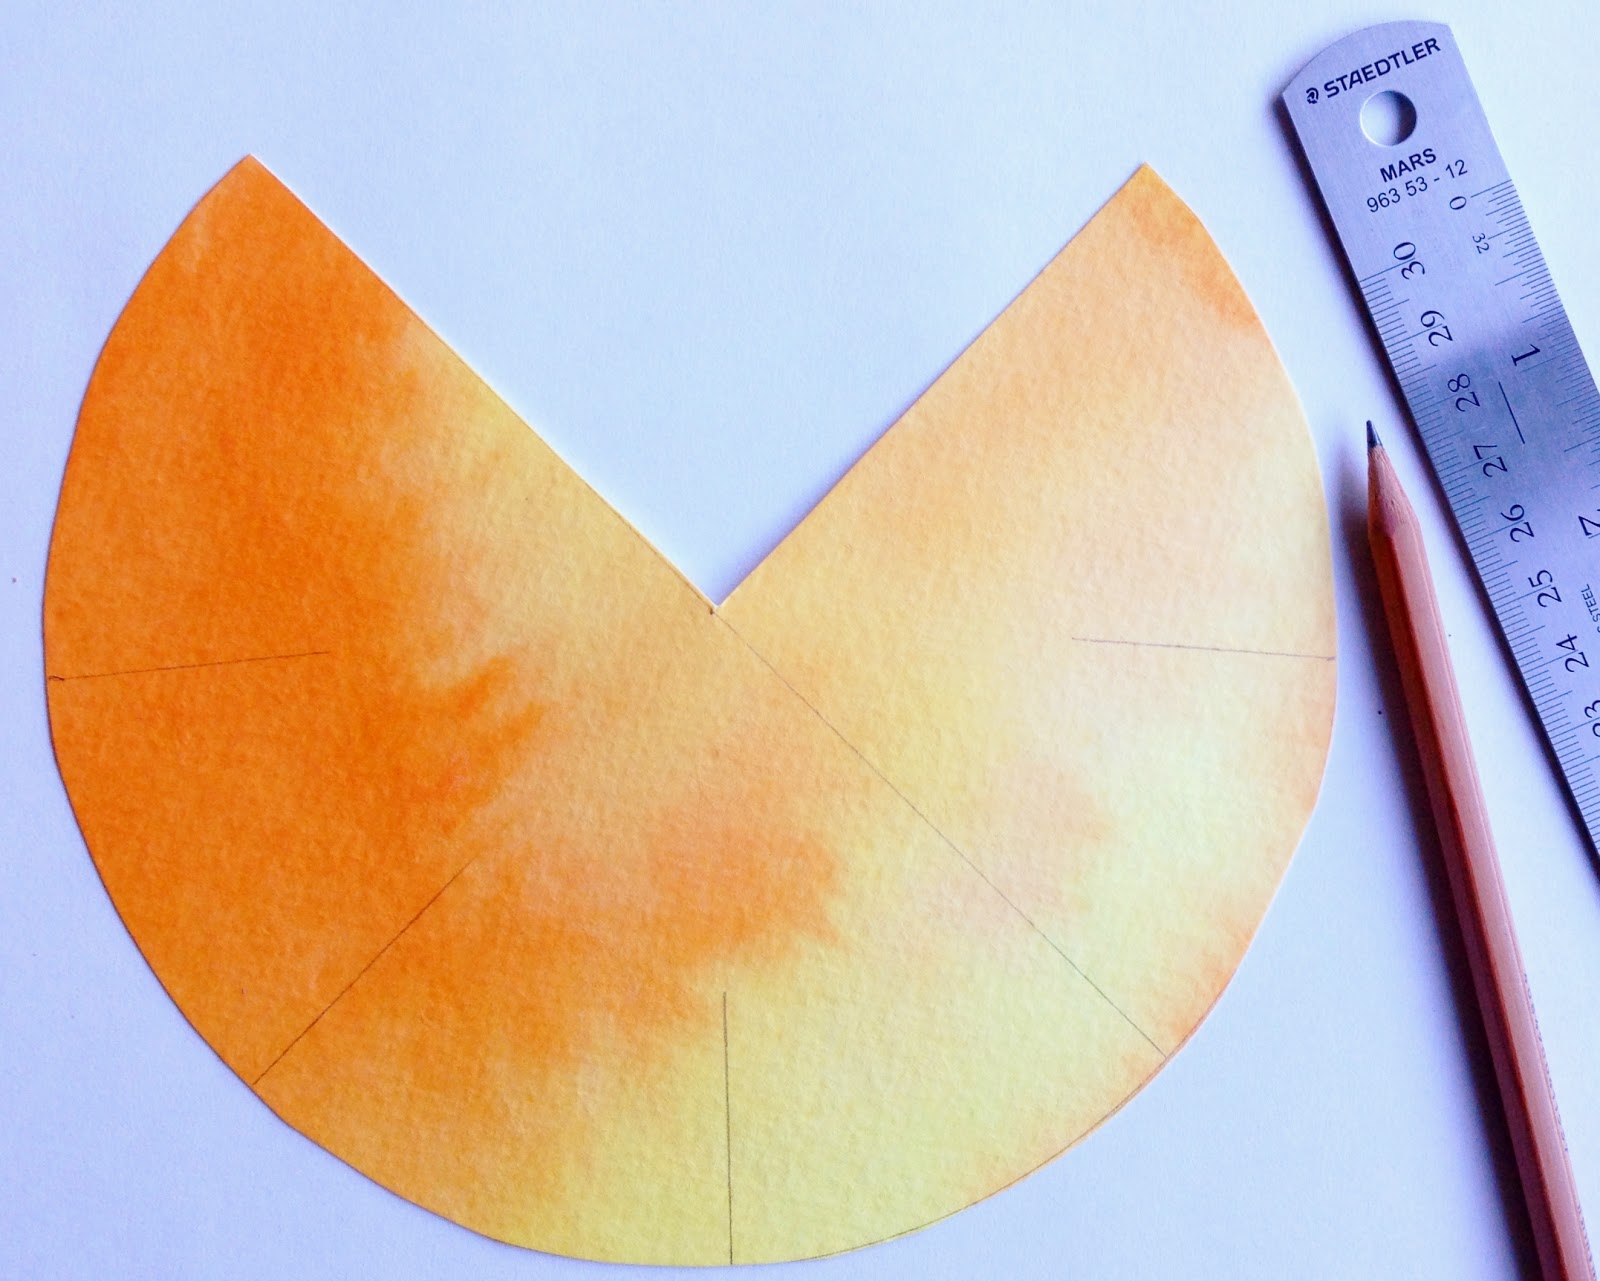
STEP 2: Draw a line across the center of the circle and mark the middle, then turn your ruler 90 degrees and draw another line down the center so you have quarters. (Apologies for the dreadful photos. It was early in the morning when I took these -- the light from the window was low & very blue.)
STEP 3: Cut around the circle and then cut out 1/4 section. Draw 1 1/2 inch (4 cm) lines at and between each quarter mark.
STEP 4: You can use adhesive tape to secure your yarn as indicated in the photo above, however, if you want your kite to really hold together, cut a small piece of scrap paper and glue it over the end of your yarn to hold it in place (as I did here in this other kite tutorial).
STEP 6: Cut each of the 1 1/2 inch (4 cm) lines which you drew earlier, plus you will need to make an additional cut where the sides overlap to form the cone. Fold each cut section at approx. 45 degree angles, crease sharply, and then fold them back so the openings in the cone-shape are narrow (see photo above). If the flaps are open too wide, the kite will not spin.


.jpg)
.jpg)


