6.2.15

unforeseen circumstances


We interrupt our usual blog tour programming for this service announcement: due to unforeseen circumstances and a situation beyond our control (i.e. the flu), the blog tour post originally planned for today has been deferred.  We will resume our usual programming tomorrow with a visit to A Child's Dream (and there will be a discount coupon code!)

Meanwhile, above you will find a photo of some Kandinsky-inspired peg doll spinning tops from the new book.  They look so well behaved in this photo, but while we were photographing them, they were rather rambunctious -- rolling this way and that, refusing to stand still. Taking photos of spinning tops and hanging mobiles is surprisingly difficult (and frustrating); luckily Mr. Bloom was phlegmatic about it all, and in the end we had to laugh.

See you tomorrow!

5.2.15

wee folk studio :: making peg dolls & more tour


artwork :: salley mavor

Today I am so happy to have Salley Mavor hosting the next stop in the blog tour for my new book Making Peg Dolls & More. Salley is the creator of the book Pocket Full of Posies (2011 Boston Horn-Globe Award for picture book) and author of the soon-to-be-released Felt Wee Folk: New Adventures. To visit Salley's blog tour post, you may click here.

artwork :: salley mavor

As you can see from these photos, Salley paints the loveliest illustrations with her needle and thread.  Her book, Pocket Full of Posies is a delight to read; as I recite the nursery rhymes to my little one, our eyes wander over the pictures, enjoying every tiny detail. We never get tired of this book.

artwork :: salley mavor

Then there are the how-to books which Salley has authored: in 2003 Felt Wee Folk: Enchanting Projects was released, and at the end of this month an updated edition called Felt Wee Folk: New Adventures will be available!

Salley and her husband Rob offered behind-the-scene glimpses of their photography work for her new book here. I especially enjoyed these posts on Salley's blog, because, during the same months when Salley & Rob were taking photos for the new edition of Felt Wee Folk, my own husband and I were working on the photos for Making Peg Dolls & More.  It was fun to know that, as we were setting up dolls and camera in our own work-space, across the country, Salley and Rob were also setting up dolls in front of their camera. This simultaneous process was the start of a friendly correspondence between Salley & myself; someday I hope we will have an opportunity to meet face to face.

artwork :: salley mavor

Salley has written in her blog that she does not have current plans for another craft book because she is busy exploring new directions in her artwork (you can see here how she & Rob documented her work on an outdoor installation called Hither and Yon). I am excited to see more of the new work Salley is envisioning!

Thank you, Salley, for hosting today & featuring Making Peg Dolls & More on your blog.

artwork :: salley mavor

Below is a schedule for the entire blog tour.  Please follow along and join me at each of the participating blogs. Not only will you meet some of my favorite people here on the internet -- you may also find opportunities to win copies of the new book!

February 2nd :: The Crafty Crow
February 3rd :: Clean
February 4th :: Castle in the Air
February 7th :: A Child's Dream
February 9th :: Forest Fairy Crafts
February 10th :: Bella Luna Toys
February 11th :: Ben & Birdy
February 12th :: Twig & Toadstool
February 13th :: Wee Wonderfuls
February 17th :: Remedial Eating

artwork :: salley mavor

4.2.15

castle in the air :: making peg dolls & more tour


Today I am lucky to have Karima Cammell of Castle in the Air hosting the next stop in the blog tour for my new book Making Peg Dolls & More. To visit Karima's blog tour post you may click here.


Karima is not only keeper of the keys at Castle in the Air in Berkeley, California, a wonderland emporium where treasures from the far corners of the earth can be found... She is also an illustrator, artist, award-winning author and founder of Dromedary Press.


To learn more about Karima and her creative process you can click here to read an interview I did with her in December.  To visit Castle in the Air's Online Shoppe click here, and for wonderful tutorials & other video delights, you may visit their YouTube channel by clicking here.

Thank you, Karima, for hosting today's stop on the blog tour, for all the beauty & delight you bring to the world, and for your support of creative work by myself and so many others!


Below is a schedule for the entire blog tour for Making Peg Dolls & More.  Please follow along and join me at each of the participating blogs. Not only will you meet some of my favorite people here on the internet -- you may also find opportunities to win copies of the new book!

February 2nd :: The Crafty Crow
February 3rd :: Clean
February 4th :: Castle in the Air
February 7th :: A Child's Dream
February 9th :: Forest Fairy Crafts
February 10th :: Bella Luna Toys
February 11th :: Ben & Birdy
February 12th :: Twig & Toadstool
February 13th :: Wee Wonderfuls
February 17th :: Remedial Eating


3.2.15

clean :: making peg dolls & more tour


Today Rachel Wolf of the blog Clean is hosting the next stop on the blog tour for my new book Making Peg Dolls & More. To read Rachel's blog tour post you can click here.

photo :: rachel wolf

Where to begin telling you about Rachel... To start, Rachel's blog Clean validates and supports alternative choices made by many parents; she advocates making conscious, informed choices, and most importantly, Rachel speaks about trusting one's self to know what is nourishing & good for each, individual child, each parent and each family.  The best of these posts she files under the category Peaceful Parenting.

photo :: rachel wolf

Most of all, Rachel is kind, honest, real, and she has such a big heart. She talks about big, glorious, beautiful stuff, and she talks about the difficult days when nothing seems to go as planned, about feeling vulnerable, about the hard stuff... grief, loss and forgiveness. To see some of my favorite posts you can click here, here and here.

photo :: rachel wolf

Rachel is also the owner of a successful business called LuSa Organics which manufactures natural baby and body care products.  In my house we use balms from LuSa to soothe my pre-schooler's ultra-sensitive skin, and we always keep a bottle of the essential oil blend Sweetest Dreams Sleeping Potion on hand to calm restless nights.  The handcrafted soaps from LuSa Organics are quite wonderful, too.

photo :: rachel wolf

I hope you enjoy meeting Rachel and visiting with her family (plus her chickens, goats, sheep, & cow) over at her blog.

Thank you, Rachel, for hosting today!

photo :: rachel wolf

Below is a schedule for the entire blog tour.  Please follow along and join me at each of the participating blogs. Not only will you meet some of my favorite people here on the internet -- you may also find opportunities to win copies of the new book!

February 2nd :: The Crafty Crow
February 3rd :: Clean
February 4th :: Castle in the Air
February 7th :: A Child's Dream
February 9th :: Forest Fairy Crafts
February 10th :: Bella Luna Toys
February 11th :: Ben & Birdy
February 12th :: Twig & Toadstool
February 13th :: Wee Wonderfuls
February 17th :: Remedial Eating

2.2.15

the crafty crow :: making peg dolls & more tour


http://www.thecraftycrow.net/

Here we are at the start of the blog tour for my new book Making Peg Dolls & More. I feel honored to have Cassi of The Crafty Crow launching things off. To read Cassi's blog tour post you can click here.

http://www.thecraftycrow.net/ 

Cassi began The Crafty Crow in 2008 as a way to keep track of all the wonderful children's crafts she saw on the internet.  Since then, The Crafty Crow has grown into an amazing resource for child-centered craft projects, carefully cataloged & organized by holiday, season, crafting materials, and children's ages.  Besides curating The Crafty Crow, Cassi has also contributed to national magazines and multiple craft books (including this one).

If you haven't ever visited The Crafty Crow, it might be worth your time to browse through some of the categories. Cassi loves color, and so the collection of crafts she features is always delightfully bright. Valentines Day is fast approaching so that might be a good category to check first!

Thank you, Cassi, for featuring Making Peg Dolls & More on The Crafty Crow today.


Below is a schedule for the entire blog tour.  Please follow along and join me at each of the participating blogs. Not only will you meet some of my favorite people here on the internet -- you may also find opportunities to win copies of the new book!

February 2nd :: The Crafty Crow
February 3rd :: Clean
February 4th :: Castle in the Air
February 7th :: A Child's Dream
February 9th :: Forest Fairy Crafts
February 10th :: Bella Luna Toys
February 11th :: Ben & Birdy
February 12th :: Twig & Toadstool
February 13th :: Wee Wonderfuls
February 17th :: Remedial Eating

29.1.15

tutorial :: twirly kite


We created a prototype of this twirly kite about 10 days ago, and were having so much fun with it... until my 4 year old twirled into the corner edge of a low bookshelf and gashed open his cheek just below his right eye (see above photo for reference).  So, this tutorial comes with a warning: please have lots of fun twirling, but do not twirl into corner edges of bookshelves, or someone may end up spending an afternoon in the emergency room getting his cute little face sewn back together (not fun).


SUPPLIES NEEDED

Light weight card stock or watercolor paper (I used some paper we had painted with watercolor a few months ago)

Adhesive tape and/or glue

18 inches (47 cm) yarn or string

7-8 inch (18-20 cm) wide plate

Scissors, pencil & a ruler


STEP 1: Use a pencil to trace around your plate.


STEP 2: Draw a line across the center of the circle and mark the middle, then turn your ruler 90 degrees and draw another line down the center so you have quarters. (Apologies for the dreadful photos. It was early in the morning when I took these -- the light from the window was low & very blue.)


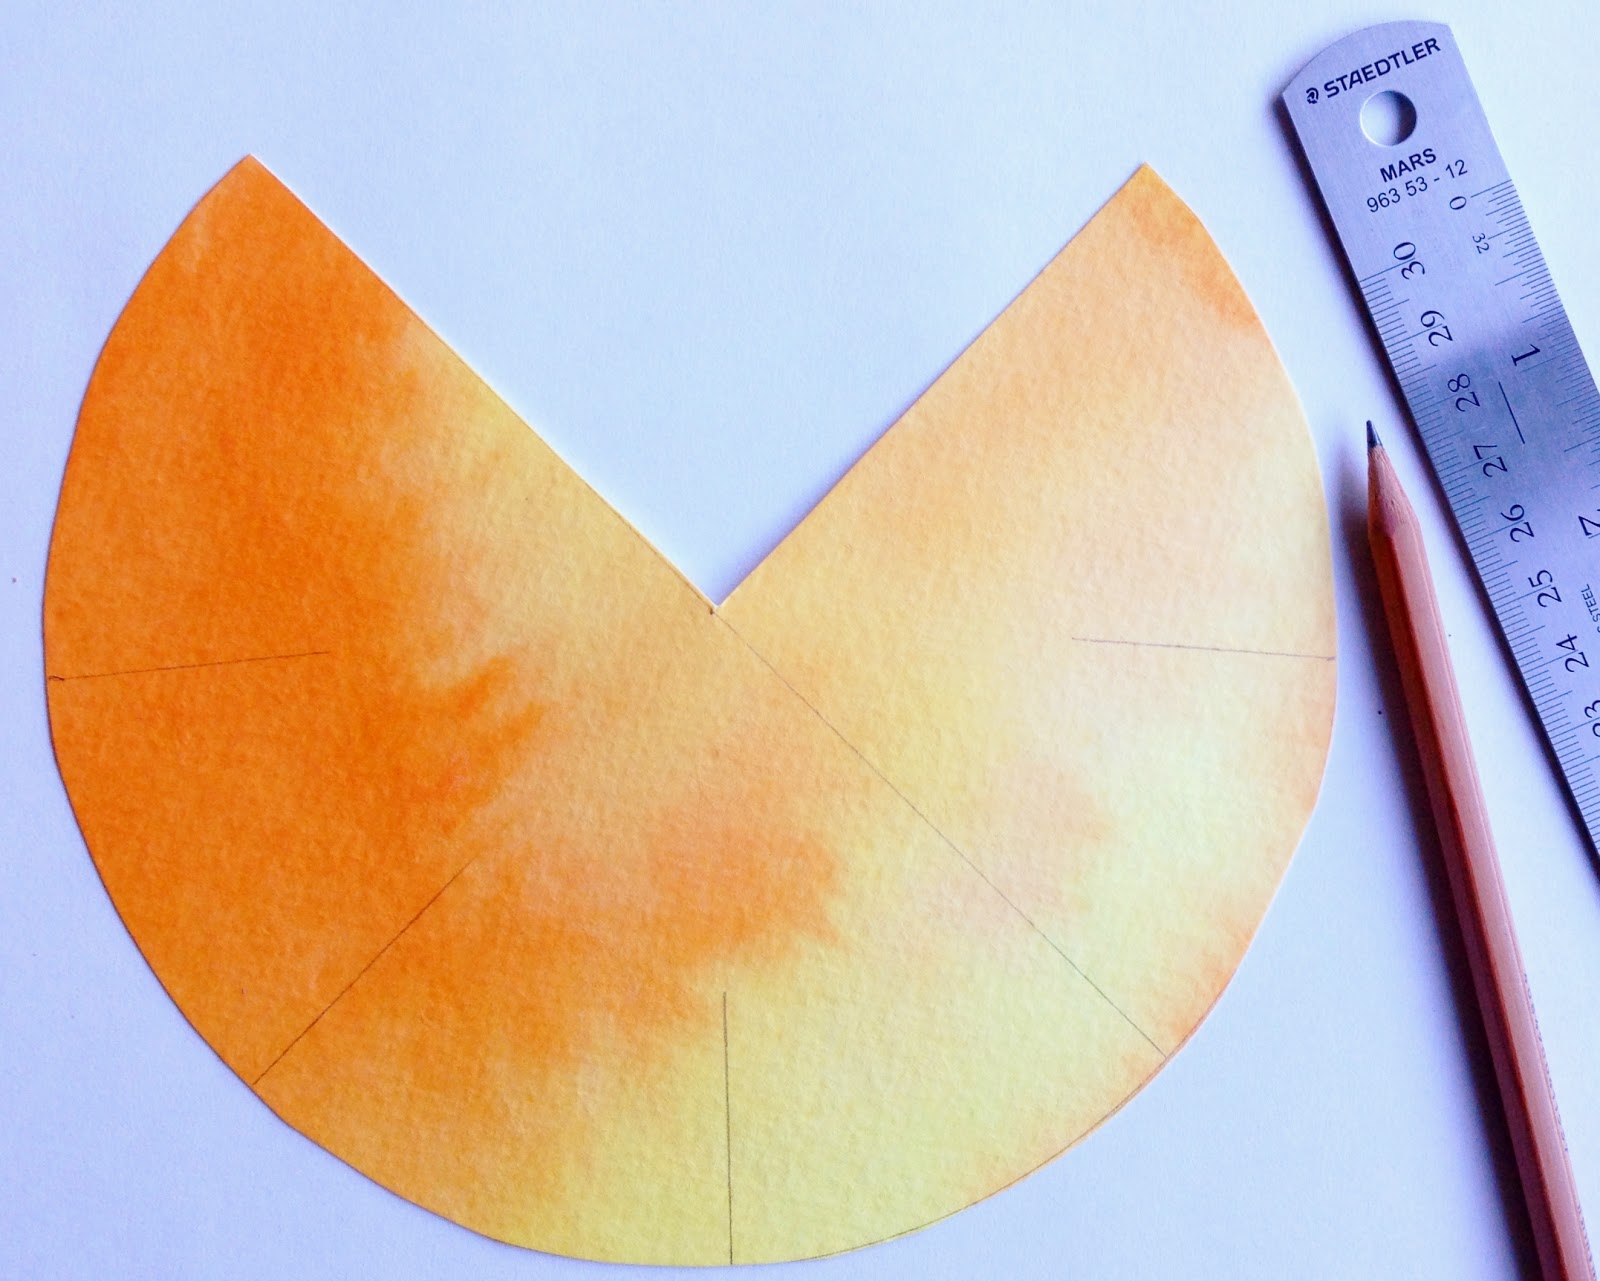
STEP 3:  Cut around the circle and then cut out 1/4 section.  Draw 1 1/2 inch (4 cm) lines at and between each quarter mark.


STEP 4: You can use adhesive tape to secure your yarn as indicated in the photo above, however, if you want your kite to really hold together, cut a small piece of scrap paper and glue it over the end of your yarn to hold it in place (as I did here in this other kite tutorial).


STEP 5: Overlap your edges to form a cone and tape or glue in place (tape is faster -- and this is important when there is a young child bouncing around the kitchen table eager to play with his new kite).


STEP 6: Cut each of the 1 1/2 inch (4 cm) lines which you drew earlier, plus you will need to make an additional cut where the sides overlap to form the cone.  Fold each cut section at approx. 45 degree angles, crease sharply, and then fold them back so the openings in the cone-shape are narrow (see photo above).  If the flaps are open too wide, the kite will not spin.


After making this kite, we headed to the beach where all we had to do was hold the kite in the breeze and watch it spin (and there wasn't a bookcase or sharp corner in sight!)

28.1.15

interpretations & variations

While working on my second book (Making Peg Dolls & More) I asked several friends to test some of my patterns, and I am very grateful for their help.  Their comments & corrections have certainly made the book easier for everyone to use, and I thought it would be interesting to show you the results of their pattern-testing efforts.

emily's doll & pincushion blossoming among the lettuce

Here is a pincushion stitched by my friend Emily.  She followed my instructions & patterns, but her pincushion is unique.  It resembles the pincushion I created, and yet this one is clearly Emily's own beautiful work.

snail applique by caroline (pattern tester extraordinaire)

My friend Caroline created this linen shoulder bag with snail applique.  In the book I added small touches of embroidery to the pocket, but Caroline did something very clever; she added embroidery which echoes the swirling silver snail-trails I find in the garden. (Additionally, she added veins to the leaf, which is also her own unique interpretation!)

herbal pocket doll stitched by alice & her mum

I adore this little yellow & lavender doll which Alice helped create (and I adore Alice's sweet face, too.)

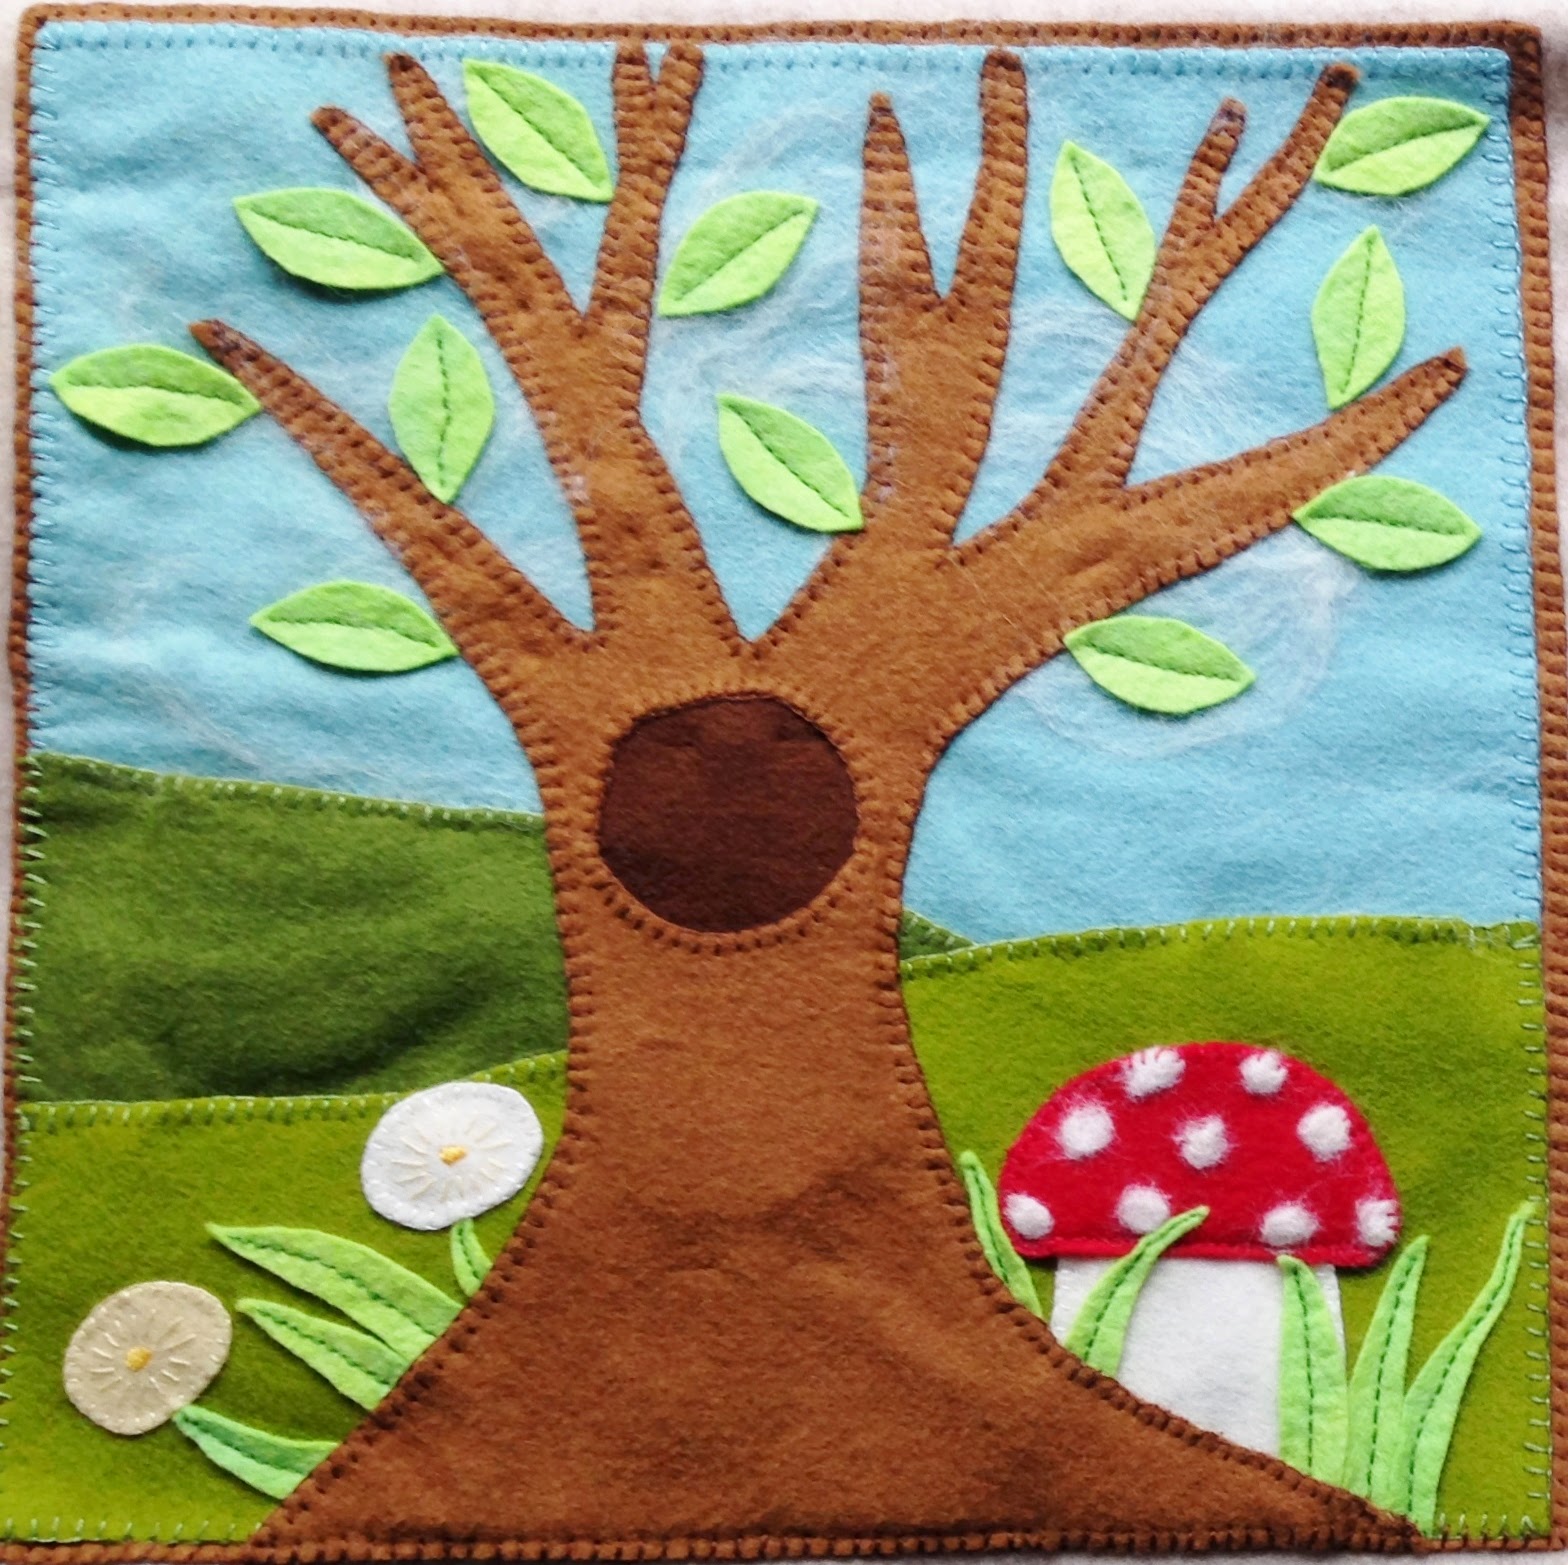
greenwood tree wall hanging created by caroline

In my books, my designs are simple and relatively unornamented, leaving room in the patterns for personal interpretation, customization, extra embroidery, beading, etc... Designs with less ornamentation also reflect my personal style.  I am an avid admirer of Salley Mavor and Elisa Kleven. Both these artists create complex and intricate work; however, if I imitated the intricacy of their work (which I love and am in awe of... every little detail), I wouldn't be true to my own style. (Occasionally I will even add extra beading or embroidery to a project and then rip it out again because it doesn't look right to me.)

my little son playing with the wall hanging sewn by Caroline

Are you feeling inspired to try some of your own variations and interpretations?  I always enjoy & appreciate seeing photos of your work inspired by my books -- please email photos any time!

P.S. Did you know that, starting Monday, February 2nd, there will be a blog tour for the new book?  I will be posting the schedule this Friday, and you will be able to check in here every day for the next 2 weeks for updates about where to find the blog tour posts.  See you then!

26.1.15

designing projects


Leading up to February 2nd -- the start of the blog tour for my new book Making Peg Dolls & More -- I thought you might like to see photos showing the process of designing some of the projects.


In the top photo of this post you can see me stitching an applique for a small shoulder bag designed for a child to gather pebbles, leaves & acorns, etc... Above is my original drawing for the applique.


And here are the paper patterns I created from the drawing.


This is a test pattern for the dragon marionette in the new book.  This pattern was nearly right on the first try, but do you see the test pattern for the bird in the background?  It looks simple, but that design took six test patterns before I was happy with it!


These are the original paper designs for the pirate ship wall hanging.  I quickly took this photo before clearing the kitchen table & dashing off to pick up my little one from pre-school. The photo helped me remember how to arrange the pieces the next time I worked on the project.

In the animated trailer below, you can see I forgot to add the crow's nest to the top of ship's mast (oops). Now that I've let you in on the secret of this accidental omission, you can add it to your own pirate ship wall hanging!


On Wednesday I will have a post showing projects created by friends to test patterns for the book. See you then!

25.1.15

preschooler woodworking fun

Did I just type those three words into the title for this post? Does "preschooler woodworking fun" sound like an oxymoron to you, too?  I feel a thrum of anxiety each time I pull out wood working tools, so the idea of adding an exuberant preschooler to the mix is definitely not my idea of fun. There are those intrepid and fearless folk among us who have high tolerance for such things, and maybe even enjoy woodworking with preschoolers (my friend Faith, for example). However, I am not one of those people. So what, might you ask, possessed me to trundle down to the garage this morning, little man at my heels, to rummage for scrap lumber, cut it down with a saw, sort through our nail & screw bin, and then pull out the electric drill?

Here's why. I was using a phillips head screwdriver to repair a toy and my 4 year old was intrigued, so I handed him the screwdriver. He had a great sense of accomplishment when he had replaced the screws and I thought to myself, "That wasn't so bad. We should do more of this..." And off we went.


PRESCHOOLER WOODWORKING BOARD

SUPPLIES
1 enthusiastic preschooler
Small scraps of lumber (I cut my board down to 10 inches, which seemed a manageable size)
120 and/or 220 grit sand Paper
A small saw
A workbench vise
A pencil & ruler
A drill and set of bits
Screws of varying sizes
A screw driver and phillips head


STEP 1: If you need to cut down your lumber scrap, use a pencil and ruler to mark where you would like to cut.  Secure the wood in a vise and use your saw to cut along the pencil mark.  (Are you coveting my yellow vise jaw pads? They are fabulous.)  Do keep a close eye on your preschooler.  If you're feeling brave, you can have him place his hands on your arm or elbow to "help" you use the saw.


STEP 2:  Hand the wood and some sandpaper to your preschooler so he can smooth out the rough edges. This is my favorite part.  Not scary at all, except when he decided to try out the sandpaper on my hand. (It's "sandpaper," sweet love, not "handpaper.")


STEP 3: Rummage around and find an assortment of screws.


STEP 4: Match drill bit sizes approximately to the screw sizes.


STEP 5:  If you like, you can use a pencil to mark where you plan to drill holes, or you can drill a random pattern of holes.  Secure your wood once again in the vise and use various sized drill bits to drill holes.  Once the wood is drilled, use sand paper to smooth the wood around the holes.


STEP 6: Hand a bucket of screws and a couple of screw drivers to your preschooler so he can get busy with his fabulous woodworking project.

ADDENDUM


My little one was feeling frustrated that the tall screws were sticking up, so this morning we glued a piece of wood beneath the first and drilled the holes deeper.  Just make sure not to drill your holes all the way through the wood as the ends of the screws are sharp and poke-y!

22.1.15

signed book plates


It would be mighty tricky for me to show up all around the world to meet all you dear readers & sign your books.  So, did you know that, if you send me an email with the name of the person to whom you would like me to sign your book, plus your mailing address, I will send you a signed book-plate free of charge? When you get the book-plate, you can just peel off the backing, stick it onto the title-page of the book, and viola! you've got yourself a signed copy of my book, anywhere in the world.